
Paper Tables
Paper seems pretty weak and fragile right? But how many books can you stack on a paper table? We think you can stack quite a few! Discover some really epic physics and the true power of paper in this engineering challenge.
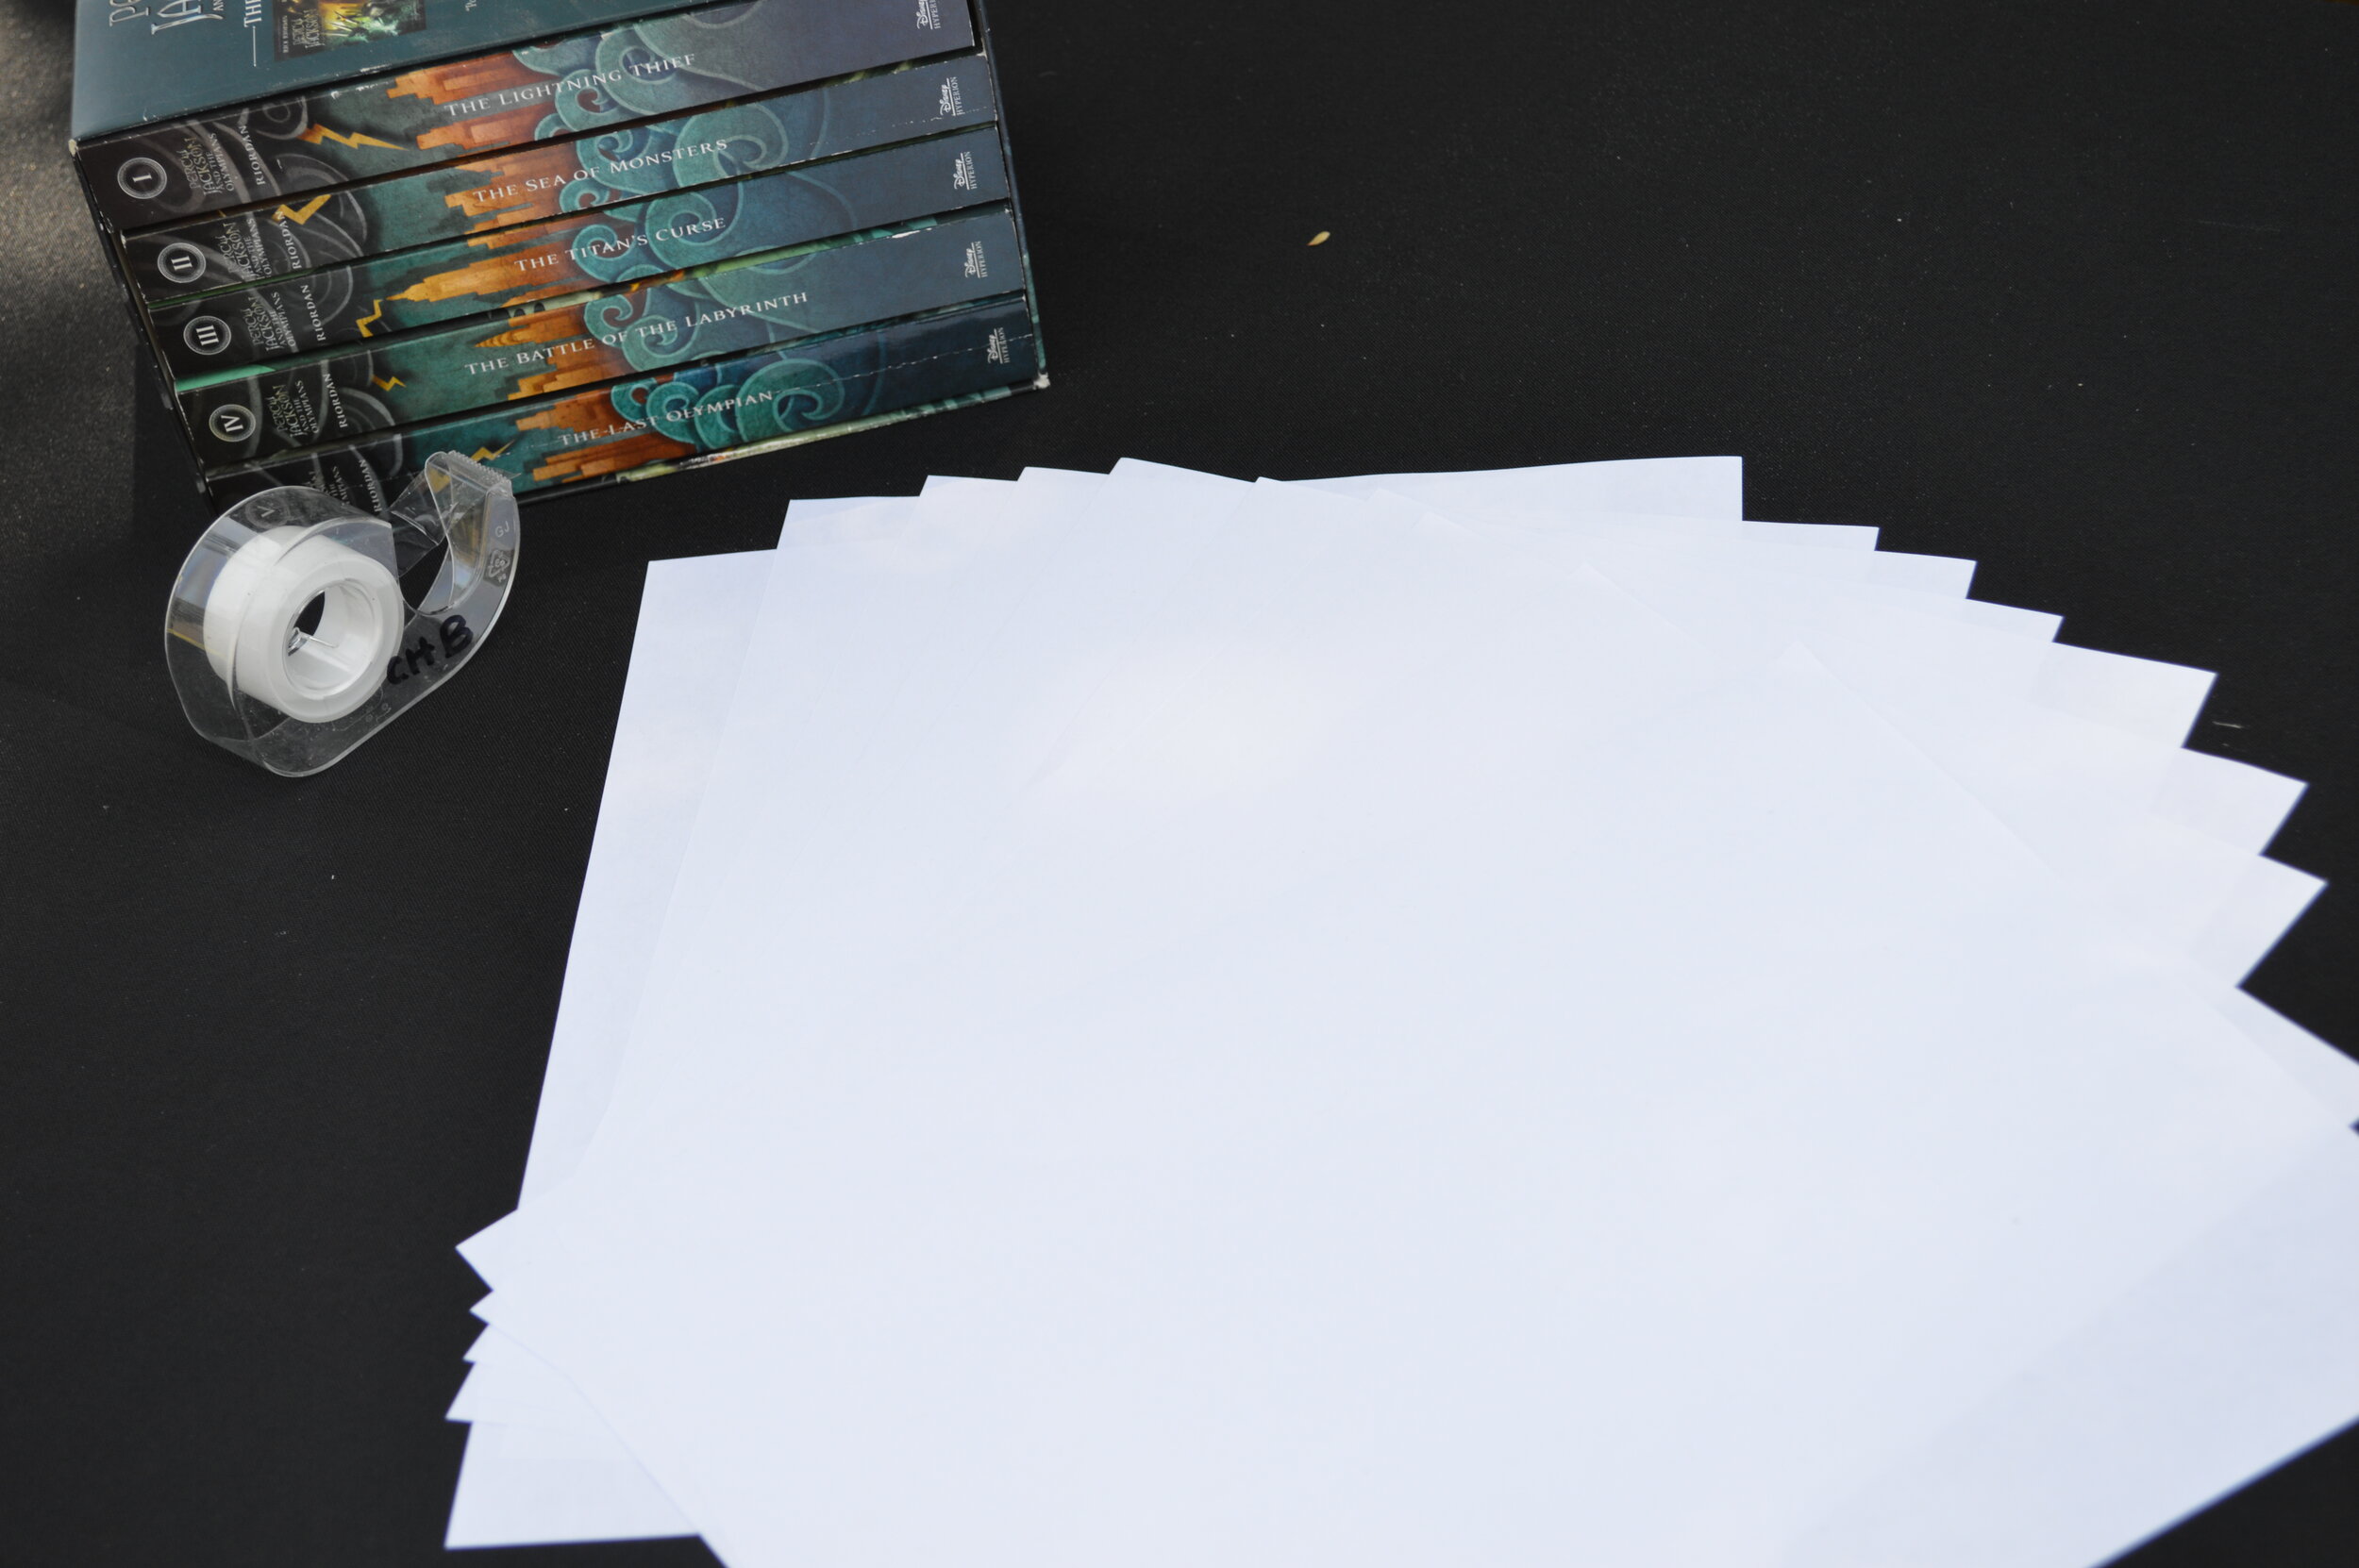
Materials
10 pieces of 8x11 paper
Books (or another type of weight)
Tape

Procedure
Step 1
Gather your materials.
Step 2
Rip or fold your paper to desired shapes and sizes that give your table the steadiest legs. Your goal is to make a table that holds as many books as possible!
How many table legs do you want?
Do you want a tall tower? A short tower? CCSS.MATH.K.MD.A.1
Step 3
Create different 3 dimensional shapes for your table legs. There are many different ways to make legs for your table!

Kindergarten . . .
- Think about all the different shapes you can make! With the help of a parent, mold a piece of paper into these different shapes. Count the sides of the shapes!
- Answers: (Cylinder: 3) (Rectangular Prism: 6) (Triangular Prism: 5)
CCSS.Math.Content.K.G.B.4
CCSS.Math.Content.K.G.B.5
1st Grade . . .
- What is the difference between the shapes you can make? What makes a rectangular prism and triangular prism different? What makes them the same? Think about the shapes and sides. Why do you think a sphere will not be the best option?
- Answers: Both have the same shapes on both ends and have the same shape on the sides. They have different numbers of sides and different shapes on the ends.
CCSS.Math.Content.1.G.A.1
4th Grade . . .
- Once you make your shape, can you point out pairs of perpendicular lines and parallel lines?
- Looking at the individual shapes on the 3-dimensional figure, where are acute angles? How about obtuse or right angles?
CCSS.Math.Content.4.G.A.1

Step 4
Tape together the paper to make it stay as your desired shape.
A little piece of tape in the middle will keep the paper from unrolling
Step 5
Go around your house and find books of different weights. Start with finding 10 different books.
Kindergarten . . .
- Either weigh your books or pick them up to feel how heavy they are. Organize the 10 books from the least amount of weight to the greatest. Do you think any books have the same amount of weight?
CCSS.Math.Content.K.MD.A.1
1st-3rd Grade . . .
- What strategy do you think is best to put the books on? Are you going to put your heaviest books first? The Lightest? Are you going to alternate? Try to think of what would be the best if you want the books to be stable.
4th-6th Grade . . .
- Take one of your books and hold it in your hands. Look around your home and estimate another item that has a similar weight. Why do you think they are similar in weight? Does an object's dimensions greatly impact the weight?
Step 6
Place 1 book on top. Does it stay? Awesome! Place some more books very carefully.
Keep adding books until your paper tower collapses. You might be surprised at how much it can take!

Step 7
Create a new and different design that you think will hold more books! (ETS1.B: Developing Possible Solutions)
Think about what didn’t go as well as you hoped on your original design.
Do you need more legs? A stronger shape? Possibly even consider using more than one piece of paper per shape! The options are endless!
WHY do you think your new design could hold more books!
Step 8
Rip or fold your paper again to your new desired shapes and sizes and create your legs. Don’t forget to add a small piece of tape so they don’t unroll!
Step 9
You should be an expert at this step now. Start to place your ten books on your table. Keep on placing them until your table can not take anymore.
Science Explanation
K-3rd Grade . . .
Think about a normal piece of paper. If you stand it up could you rest a book on it? No way! The way we shape paper affects how strong (or weak) it is. If we make a tower that has a place for the book to rest, it can hold it up. A normal piece of paper is too thin to hold up any weight. When we made a triangular prism for example (look at the picture above for an example of the shape with your parents), there was more paper for the books to stand on. A triangle supports the book at the top of the shape and has three sides. Three sides of paper is stronger than one side of paper.
4th-6th Grade . . .
One way that paper gets “stronger” is by distributing weight. Think about just a single piece of paper. It can barely stand up straight and a book would never stay on top of it. How did you take this weak item and make a table that could hold multiple books? It is all about the shapes you created. Shapes that have a top that is a square or triangle have more surface area for the book to sit on. The weight of the book will be distributed across a larger surface than just a flat piece of paper. Also, the more “legs” you had on your table, the more stable your table is. With more towers comes more surface area. The weight will distribute thinner across a larger surface and not cause so much stress on the paper. Also, your paper got stronger because your towers were able to absorb the force the books were placing on it. Try making a cylinder out of a piece of paper and placing your hand down from the top. You can push down a small amount and the cylinder will not collapse because the circular base and top are keeping it stable and strong. If you turn the shape on its side and push down it will fold in almost automatically.
Created by Rylie DiLellio